HAPPY SUMMER!!!!!!! Summer is such an amazing season, and I’m so glad that, unlike last summer, we have a lot more freedom to see people and do things that we love because things are changing for the better!! I am just so excited to keep baking and sharing it, without having to balance the blog, school, annoying weather and no motivation. There is a huge heat wave over here, with the temperatures getting up to 100 degrees for 3 days in a row. CRAZY! Also on Wednesday, my long distance best friends are coming to visit, and I am so excited to enjoy the weather with them and everyone else I haven’t got to see for so long.
One interesting thing that I’m doing this summer is going to be trying to bake 30 things!!! I wanted to challenge myself, so I will keep everyone updated as I go through. (I’m at 4 right now haha) I’m excited to just bake and bake and enjoy the summer!
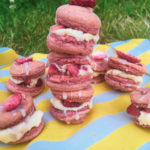
BUUUUUT, we need to kick this summer off with a recipe!!!!! VEGAN STRAWBERRY MACARONS!!!!!!! This is probably going to be one of the most challenging recipes that is ever going to be on this blog, but it will end up making these amazing vegan macarons with a vegan vanilla buttercream and fresh strawberries in the middle. The photo below is what they look like!!!
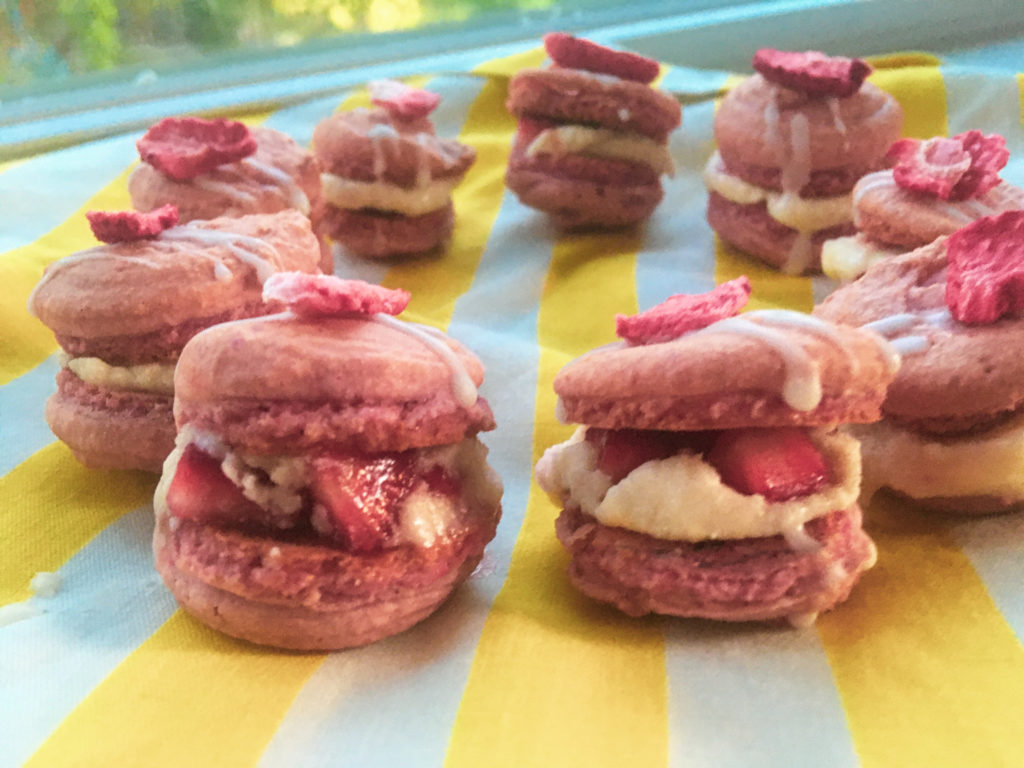
Don’t they look so summery???
I’ve been experimenting with vegan macarons for a while now, so I’ve made chocolate a few times and once lemon lavender, but the more I try the easier it gets, so I decided to invent this recipe, because strawberry is the literal BEST summer flavor!!!!
If you are wanting to make the perfect macarons (like the ones that show up when you google macarons), don’t be disappointed if they don’t come out perfect the first time. Mine are never perfect, but still so fun to make. That said, I’ve tried very hard to make this recipe as detailed and explanatory as I can, so that hopefully you can have your beautiful macarons every time. Before the recipe, I’ll also put some tips and photos of my process, but if you want to make these, you should definitely check out my Instagram reels page, where I make this recipe and you can see a video of it. (Watch the reel here)
First of all though, we have to talk about “aquafaba” or “bean water”. This magical and strange little substance is what makes vegan meringue, and is needed in this recipe. Basically, to get some, all you need to do is take a can of chickpeas, and strain out the chickpeas, but keep the water. And if this seems a little gross to you, don’t worry, there is absolutely no chickpea flavor in the macarons at the end. This liquid has the same properties as egg whites, which makes non-vegan meringue, so it can be whipped up to make a perfect vegan meringue with a bit of cream of tartar.
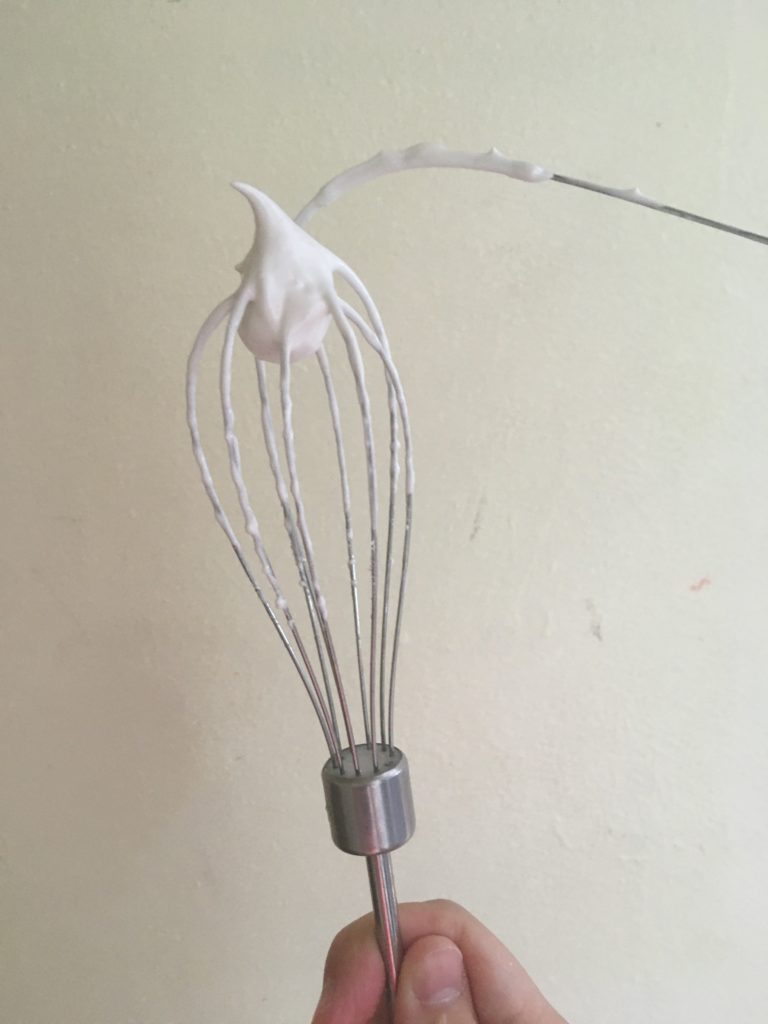
The meringue is the hardest part of this recipe, so follow my recipe exactly. Making vegan meringue is extremely hard, and actually I had never failed at making it before until the second time I tried this recipe. I had to redo my meringue literally 4 times, and it was a very bad day, but in the end everything worked out (well the whisk attachment did break.. see photo) And I succeeded at meringue.
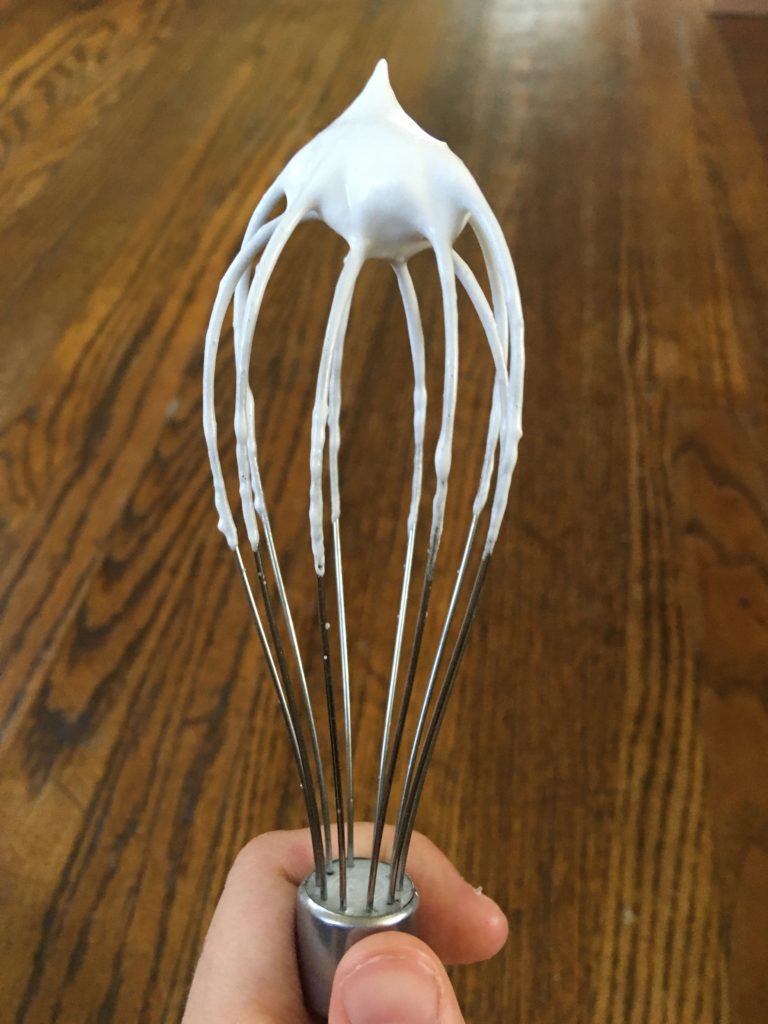
The 2 photos below are what a stiff peak for meringue should look like, and the second one is when my whisk attachment broke, but there was still a stiff peak hahaha…
I say in the recipe what mixer and mixer attachment works the best for me, and what appliances that you can use to process your dry ingredients, but one thing that isn’t very easy to explain without pictures, (and a video!!!!) is macronage, which is the fancy word for mixing your dry ingredients into your meringue. Here are some photos of my macronage, and a video when it’s finished, which will hopefully help you!!

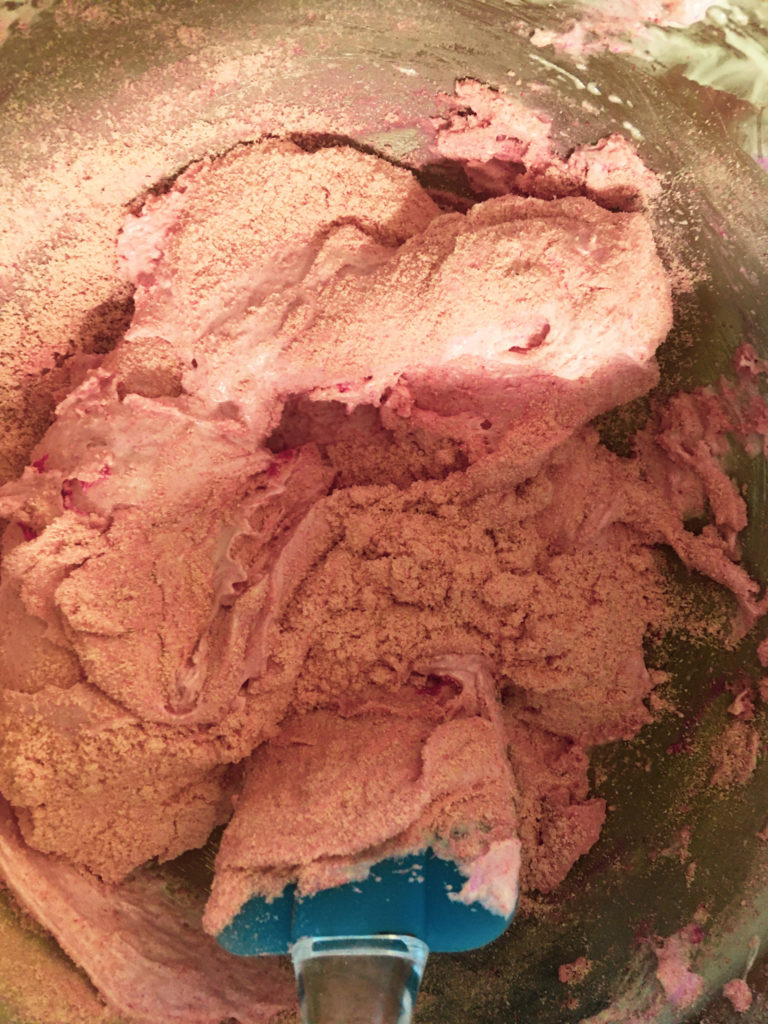
The first photo shows what your macaron batter should look like when you add the first fifth of your dry ingredients and just start combining. The second photo shows what it looks like when all of the dry ingredients are added and you are almost done combining,
This video shows how you can mix, and what your batter should act like when it’s done! Like I said in the recipe, if your batter falls off in a long ribbon, you have overmixed, and if your batter falls off in clumps, like it does in this video, it is done and ready to go!!
The next thing that I’m going to show with a video is what your macarons should act like when they are done resting for an hour, and how you should be able to brush your finger over the macarons without any batter getting stuck on you.
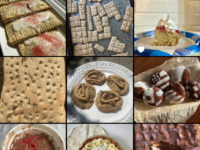
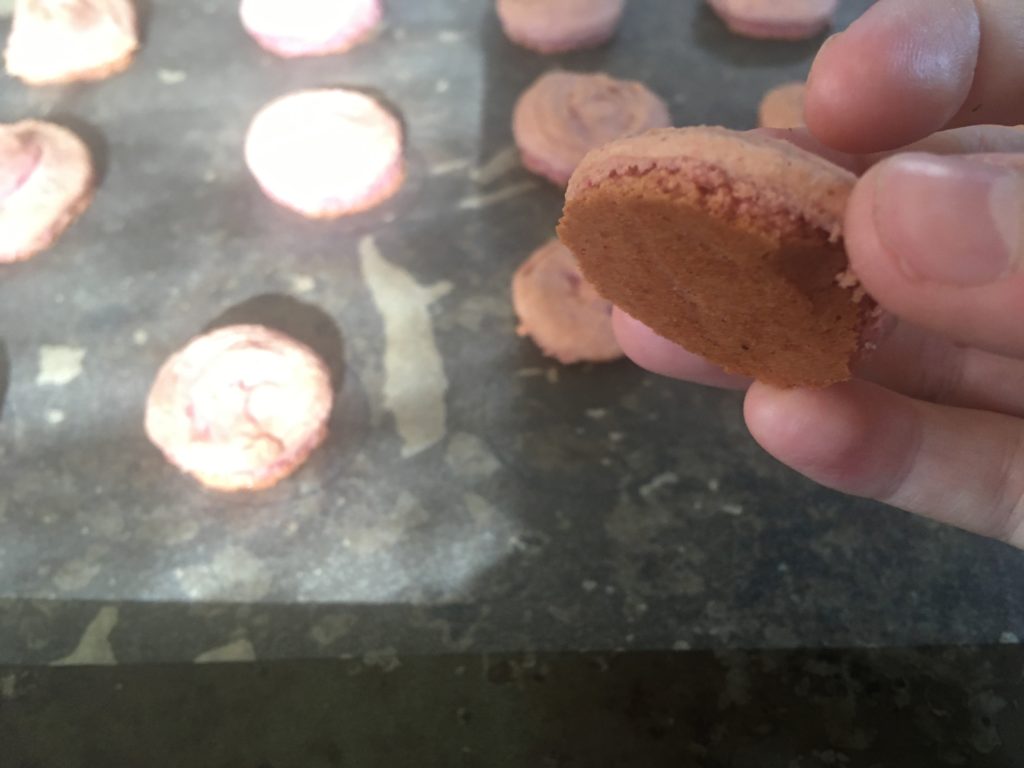
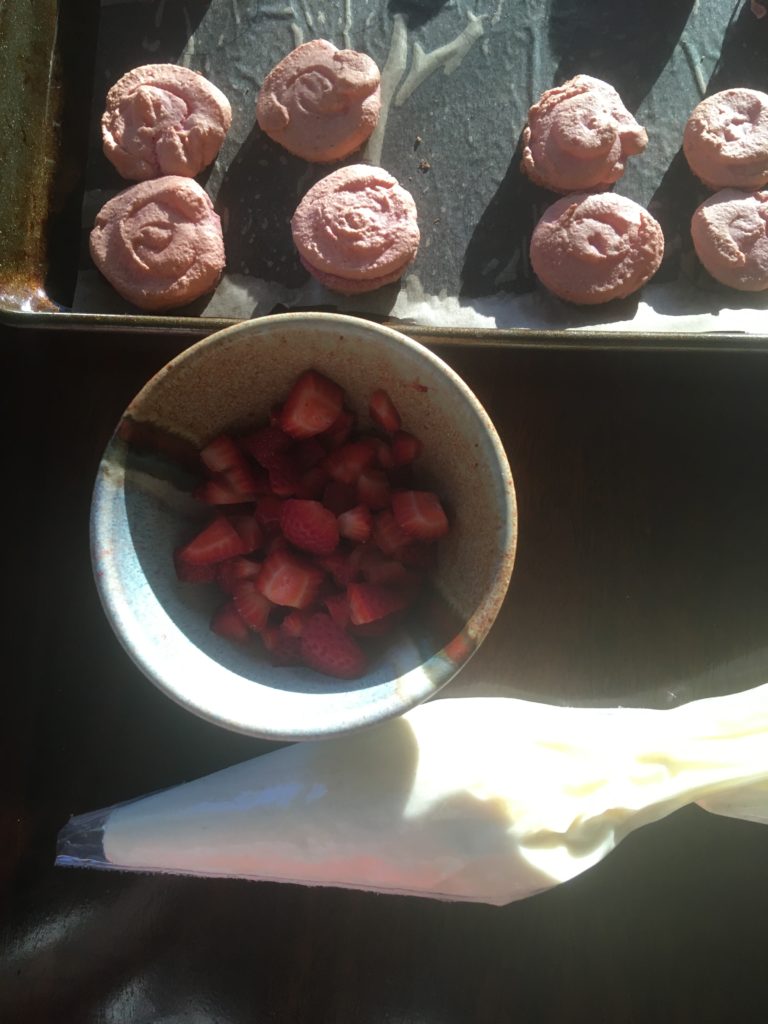
I also wanted to show you what the bottom of your macaron should look like when they come off the parchment paper, and what your decorating station should look like when you fill your macarons, so that is in the gallery below.
Finally, the last thing that you should see before you make these macarons is how you can fill them. I describe the 3 ways that I like to do it in the recipe, and to be honest you can do whatever you want, but if you needed a visual, here is a photo!!
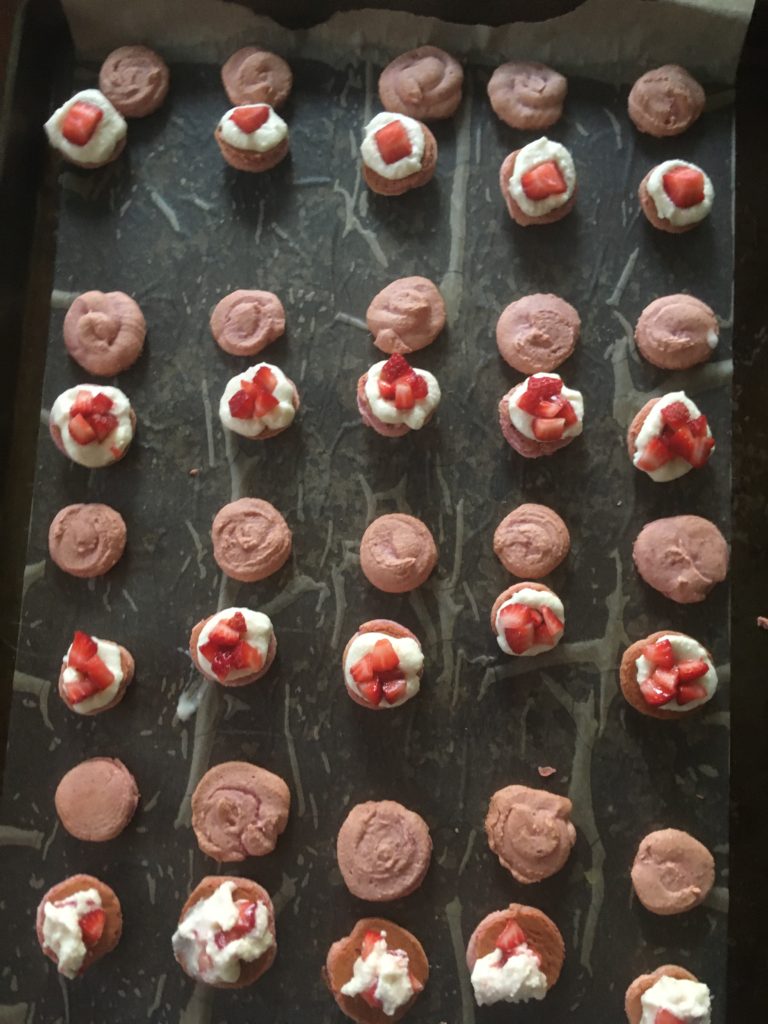
Row 1: circle of buttercream with one big strawberry in the middle. Rows 2 and 3: circle of buttercream with a spoonful of small strawberries in the middle. Row 4: Buttercream and strawberries combined!
I hope that all my visuals and my super detailed recipe helps you make your dream vegan macarons, and I’m wishing you good luck through the screen!!
Enjoy!!!!!
Vegan Strawberry Macarons!
Ingredients
For the Strawberry Macaron Shells
- 1 cup almond flour
- a little less than 1 cup powdered sugar
- ½ cup freeze dried strawberry powder (from blending up about 1 cup of freeze dried strawberries)
- ¼ tsp salt kind of optional, you can just add a little pinch
- ⅓ cup aquafaba see notes above on how to obtain it!
- ⅓ cup plus 1 tablespoon granulated sugar
- ¼ tsp cream of tartar
- 10+ drops pink food coloring
For the Vanilla buttercream and Macaron filling
- ½ cup vegan butter / margarine
- 2 tbsp non-dairy milk
- 2 teaspoons vanilla extract
- 1 cup chopped fresh strawberries!
Instructions
First off:
- Gather all of your ingredients and measure everything out. Also fit a piping bag with a round tip and line a baking sheet with parchment paper. If you want, use a small cup or compass to draw 40 circles, all 1½ inch long through the middle. You want EVERYTHING ready before you start.
Dry ingredients
- Start off by grinding up your freeze dried strawberries in a food processor, blender, or coffee grinder (coffee grinder works the best!)
- Put the strawberry powder in a food processor with the almond flour and powdered sugar and pulse (15+ times) until smoother and well combined. (if you don't have a food processor, just skip to the next step and sift everything into a bowl, and if there are any clumps you can grind them in a coffee grinder or blend them until smooth and siftable.)
- After pulsing, sift into a bowl! This will take a while, and be pretty messy and hard, but it will be worth it in the end to get smooth tops on your macarons. If you have big chunks of almond flour or strawberries, put these in a coffee grinder, (food processor and blender would also work but if you only have a small amount I'd recommend acoffee grinder.) Sift these again, and continue until everything is sifted and smooth. If you have a teaspoon to a tablespoon of big clumps that won't blend up, feel free to compost them and move on, but only if you have this small amount.
Meringue
- Set dry ingredients aside and begin meringue. My stand mixer didn't work to make this because it couldn't reach the aquafaba at the bottom, but if yours is a newer model then it will probably work great to make this meringue. For me, the best thing to use is the whisk attachment on the hand mixer, but I have succeeded with the beater attachment too, it just doesn't whip as much air into it so they might take longer.
- Anyway, start the meringue by combining cream of tartar and aquafaba in the bowl of your mixer, with the granulated sugar measured out near you. Start whipping aquafaba and cream of tartar for 1-3 minutes on a low setting (low on hand mixer, medium low on stand mixer) until it starts to get really foamy.
- Increase the speed now to medium, and whip for 2-4 more minutes, this time until your meringue starts to get a ton more air into it and gets foamier, fluffier, and bigger, but even if it doesn't really do this go to the next step after 2-4 minutes.
- Now increase the speed to high, and add a spoonful of sugar into the mixture, drizzling it in slowly and whipping it in. Wait at least 20 seconds before adding more, and continue like this for a while. Your meringue should be getting aerated and bigger, and if it isn't and you are using a hand mixer, turn the bowl and violently whip in circles for a while, which should hopefully make it start working. You can start adding the sugar faster now, and when you finish adding all of your sugar, keep mixing for 3-5 minutes. The whole whipping should take 10-14 minutes, and it will depend on what you use and how long it takes for you to add the sugar.
- Turn off your mixer, and pull out the whisk. If there is a stiff peak at the top of your mixer, (there are some photos of stiff peaks above) You did it!!! Vegan meringue!!! If there is only soft peaks, whip a bit more until you have stiff ones. When this meringue is done, you should be able to turn the bowl upside down over your head without anything falling out. (Make sure you have stiff peaks though first.)
Macronage
- Add your food coloring onto your meringue, but don't mix it in.
- Take a fifth of your dry ingredients and shake it onto your meringue. Mix this and your food coloring in, with a rubber spatula, VERY carefully. Just combine them slightly, definitely don't mix this in all the way. When your batter looks like the photo above, add another fifth in. Folding your dry ingredients into your batter is hard, but what you want to do is make O and J shapes with your spatula, just to combine your wet and dry ingredients without deflating the meringue.
- Repeat with all the fifths of your dry ingredients, just slowly smoothing and carefully folding it into the meringue. This should only take a few minutes, and you will know that you are done when you can pick up your spatula and have clumps of batter fall off of it, rather than having it fall off in a long ribbon, as shown in the video above! If it gets to the ribbon stage, you have overmixed and the macaron feet might spread out in the oven, which is not what you want.
Piping, resting, and baking!
- Put your batter into your already prepared piping bag, and pipe 1½ inch circles! This is the part of macaron making that I am not the best at, but the best way to do this is to pipe from the top down to make a big dollop, and then pull the top off to one side. You can later flatten down the little top with your finger, and this will make the prettiest macaron in the end.
- Take your sheet and drop it down on a hard surface a few times to get rid of the bubbles and ensure a smooth surface.
- Leave the macarons to rest (you don't have to cover or put in the fridge or anything special like that, just leave them out) for 45-60 minutes, this is absolutely needed to get the nice macaron feet. When they are done, they will have a nice "film" over them, and you will be able to brush your finger over them without getting any batter on it.
- Preheat the oven to 300 degrees, you can just leave the macarons out while you do this, and then put your macarons into the oven for exactly 18 minutes.
- Try to flip one of your macarons over, and if there is a bit of batter that comes off and sticks to the parchment, put them back in the oven for 1 more minute or so. You should be able to flip one over without anything coming off, only seeing the bottom (if it's brown it's totally normal.) Let them sit for 10 minutes and make sure you can flip the rest over successfully. Be careful not to push down on any of them, because that will cause them to break.
- Let cool, and make the buttercream!!
Vegan Vanilla Buttercream
- Measure out powdered sugar in a bowl, and combine milk and vanilla extract in another small one. Put butter in the bowl of a hand or stand mixer.
- Cream the butter up, if you are using a stand mixer use the whisk attachment and if you are using a hand mixer use the beater attachments for this, switching to whisk in the next step if you can. I've found that stand mixers work, but tend to make a very clumpy buttercream, so I would recommend a hand mixer with the whisk attachment (and beater in this step) for this. (But just beater works good)
- Add a fifth of the powdered sugar and a small splash of milk/vanilla mixture. Whip this up with the whisk attachment on both mixers, and repeat with all the fifths of powdered sugar until all of it and all the milk/vanilla mixture is added.
- Keep mixing for 5 or so more minutes until nice and creamy, and place in the fridge for 30 minutes to harden up.
Assembling and filling: 3 ways
- Pair all of your macarons with others of the same size and shape. Chop/ dice fresh strawberries into small little square chunks, (with a few into bigger chunks too, like eighths/quarters) and put buttercream into a piping bag fitted with a round tip.
- There are 3 ways that you can prepare your macarons, and you can do any and all of them. (there will be a photo above if you don't understand the explainations) The first is that you can dollop or pipe some buttercream into the macarons and put a big eighth/quarter (the bigger chunks) of your strawberries into the middle, to get a big bite of fresh strawberry. The second is that you can pipe a circle of buttercream around your macaron and then fill the inside with a spoonful of fresh strawberries, and the last is that you can combine strawberries and buttercream (using a spatula NOT mixer) and put a dollop of this in between your two macs.
- Put one of your macarons on top of the other with the strawberries and buttercream, if you want to garnish with stripes of royal icing (1 cup powdered sugar + 1 teaspoon lemon juice or water) and a freeze dried strawberry, and enjoy your long, amazing creation. YAY!!!